User Flow
This page follows the path of a new user using PolyEdge for the first time. Actual pages may change as the product evolves, but the core flow should remain mostly consistent.
1. Enter the Website
Open https://polyedge.space/. The homepage presents PolyEdge’s positioning and the entry point to the app. Click Launch App to enter the workspace.

2. Browse Markets
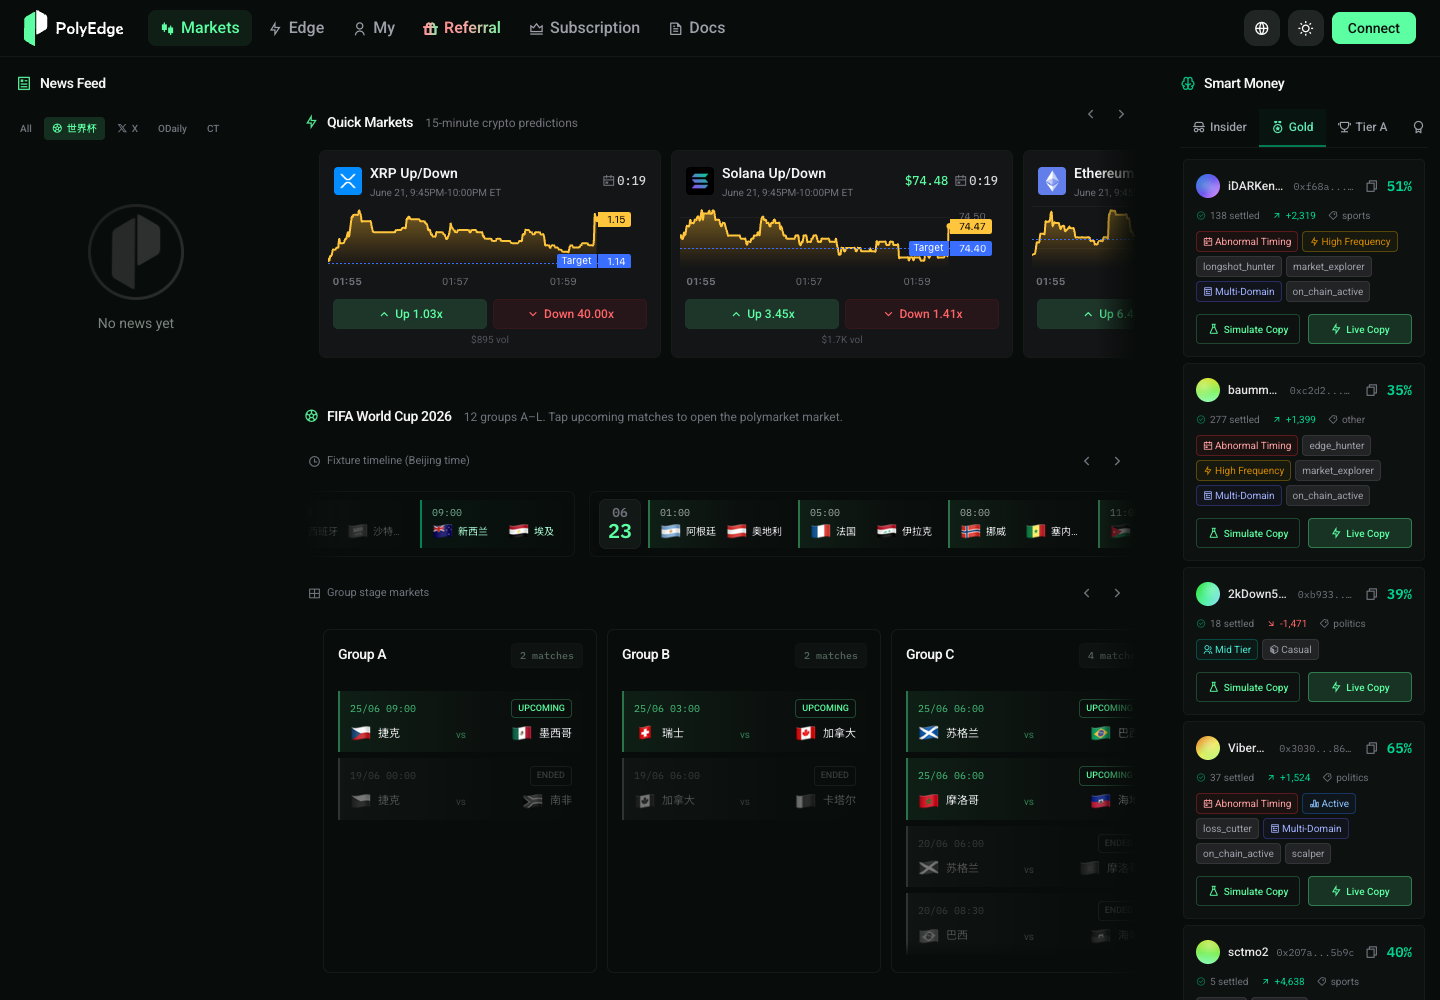
After entering the app, start with the market workspace. Users can view trending prediction markets, fast markets, category tags, price trends, and market details.
Recommended usage:
- Find active markets by volume and category.
- Check the price trend to judge whether the current probability already reflects available information.
- Open market details and inspect the order book, liquidity, and end time.
- Combine news and smart-money signals before deciding whether to trade.
3. Connect a Wallet
Click the wallet connection button in the top-right corner. After connection, PolyEdge shows available features based on wallet status, including trading, subscriptions, referrals, managed wallets, and copy trading.
When connecting a wallet, confirm that:
- The current network is correct.
- The wallet address is the main address you intend to use.
- Signature requests come from the official PolyEdge domain.
- Any transaction or approval is signed only after confirming the amount, asset, and target address.
4. Create a Managed Wallet
If you need automated order placement, copy trading, or AI Agent execution, follow the page instructions to create a managed wallet. The managed wallet supports Polymarket-related execution flows and reduces the cost of frequent signing and manual operations.
Before creating one, read the risk notes on the page and understand that:
- Your own wallet is responsible for login and authorization.
- The managed wallet is used for in-platform trading and copy-trading execution.
- Passkeys or related authentication methods must be managed carefully.
- The managed wallet is only used for Polymarket interactions supported by PolyEdge.
5. View Smart Money
In the smart-money module, users can view wallet rankings, PnL curves, active markets, positions, and recent trades. This step helps determine “who is worth tracking.”
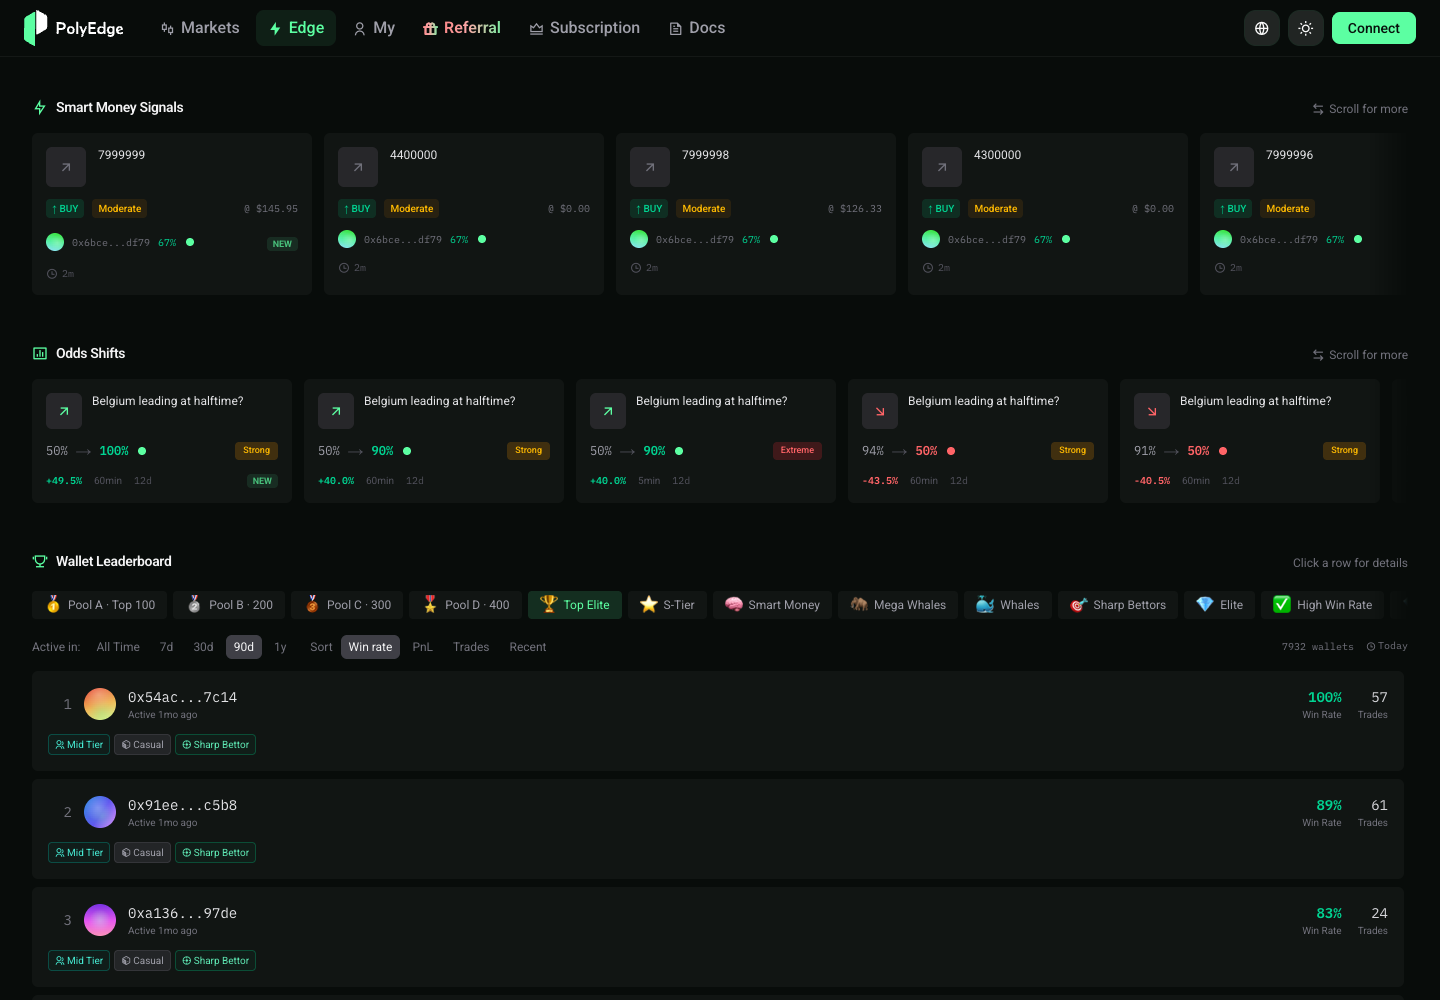
Pay attention to:
- Whether the wallet has stable long-term profitability rather than one unusual win.
- Whether the wallet’s active markets match the markets you care about.
- Whether the PnL curve depends too heavily on a few extreme trades.
- Whether the trading frequency is suitable for copy-trading execution.
6. Configure Copy Trading or Agent
After entering the “My” area or AI Agent pages, you can choose paper copy trading or live copy trading. It is recommended to observe with paper copy trading for a period of time before enabling real capital.
Common configuration items include:
- Copy target: a smart-money wallet or any specified address.
- Copy mode: fixed amount or fixed ratio.
- Per-trade limit: the maximum amount for a single trade.
- Daily limit: the maximum daily risk exposure.
- Paper/live: paper mode does not affect real funds; live mode creates real PnL.
7. Review Orders and Results
After trading, review results in order records, the wallet panel, and the Agent decision chain. The point is not only profit and loss, but whether each trade followed the preset rules.

Review suggestions:
- Check whether the fill price deviated too much from the expected price.
- Review reasons for blocked trades.
- Watch whether the copy target’s recent performance has changed.
- Adjust per-trade and daily limits regularly.
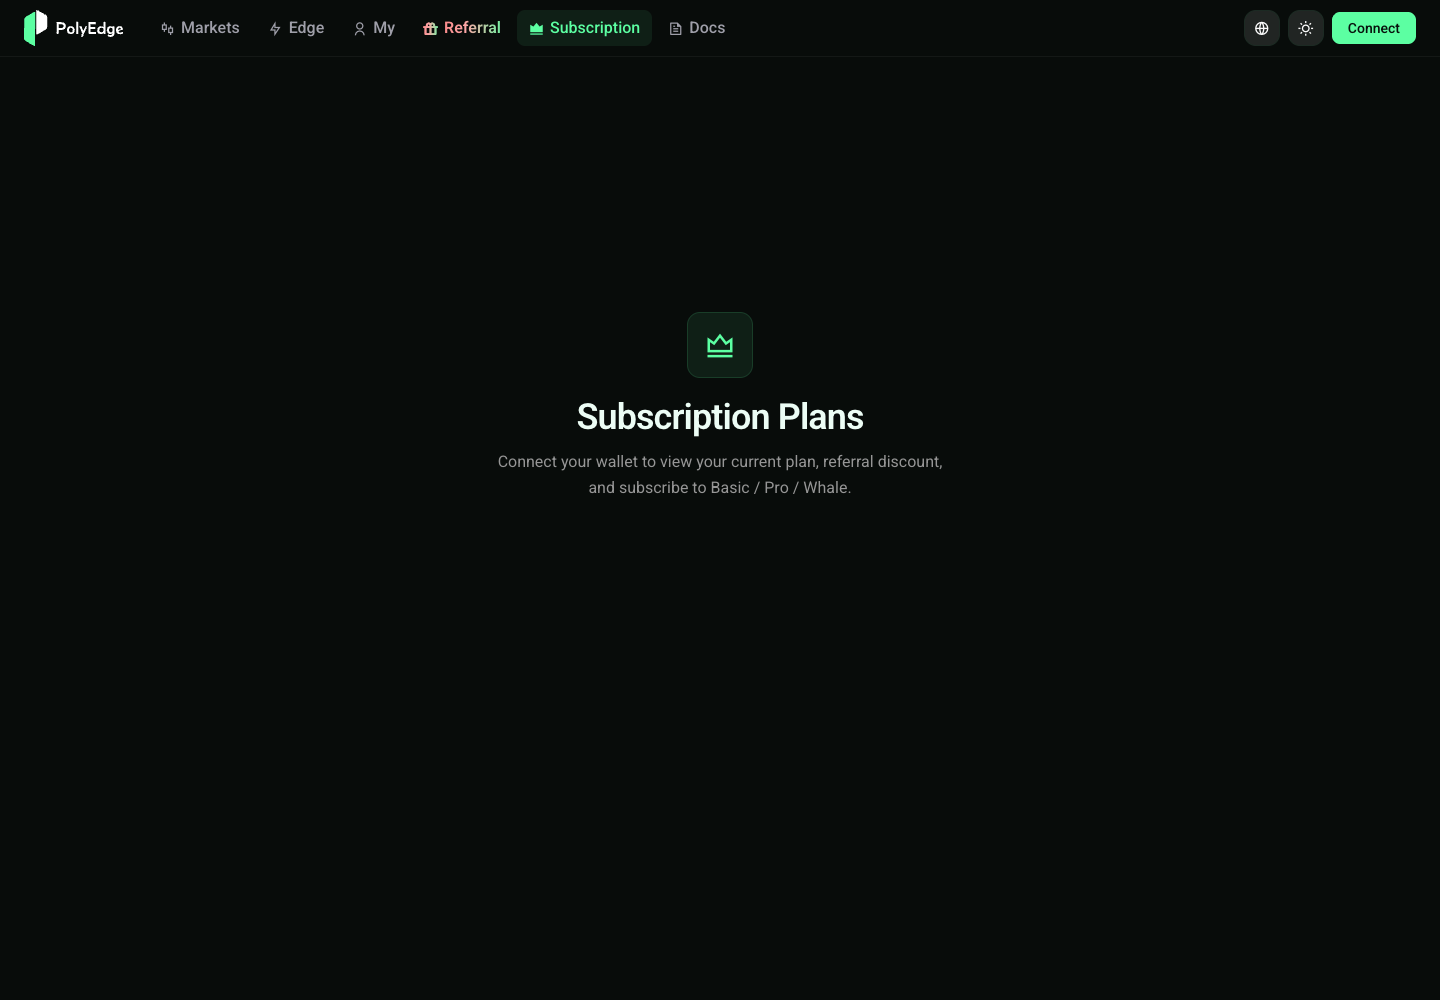
8. Upgrade Subscription
Open the subscription page to view the current plan, billing cycle, and upgradeable features. During testing, the available feature scope may differ from the official paid policy. The official launch should follow the page display.